
Your very own raised bed
Project: Building a raised bed
With a raised bed, you can work comfortably without having to bend down, vegetables grow faster, and usually it produces higher yields than a bed in the ground. Reasons enough to get started now! We will give you tips on what you need and how to go about it so that this year you can finally produce some harvest from your own raised bed.


What you need
- Raised bed, ready-made or handmade using terrace boards.
- Staple gun
- Mesh wire for the floor with a mesh width of 6x6 mm
- Pond liner or dimpled plastic sheets (used in building insulation) for the sides to protect the wood
- Useful, but not a must: edge stones, clinker bricks or similar objects to prevent the wood from the raised bed from touching the ground
- Seedlings (e.g. lettuce, kohlrabi) or seeds (e.g. carrots, radishes) – from specialist shops, from weekly markets or online
- Organic Multipurpose Plant Food OR Organic Tomato Feed OR Organic Multipurpose Plant Feed
- Super Strength Seaweed Extract
A note about our raised bed calculator: you can use it to calculate approximately how much material you will need for each layer in your raised bed. But since the total quantity depends on the materials you use, these are only approximate values.
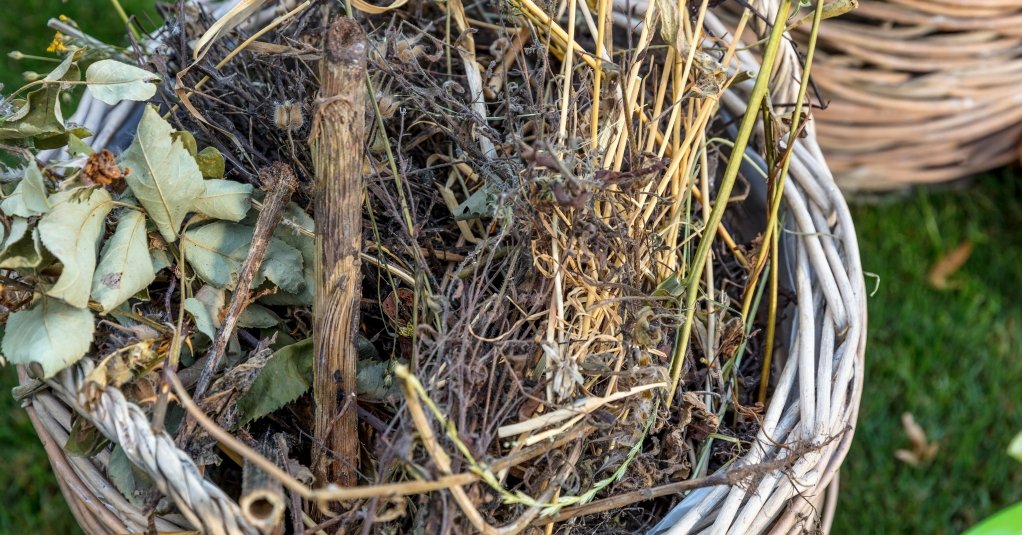
Filling material
- Branches and twigs from the garden
- Shredded material or purchased wood chips
- Leaves and garden waste
- If available: coarse mulch compost from composter or peat-free potting soil
- A peat-free plant substrate; preferably a soil especially suited for tomatoes and vegetables
- If available, self-adhesive copper tape to keep snails away
- We have listed everything you need in our checklist: download here
How many litres of soil do you need for your raised bed?

How it works
Step 1: Preparing the surface
Remove any plant growth from the surface on which you want to place the raised bed. Cut the turf flat (approx. 5 cm deep) to the size of the spade blade and set aside.

Step 2 (optional): Placing stones
Place edge stones or other stones. They prevent the wood from the raised bed from touching the ground. This can make it last longer.
Step 3: Building a raised bed
- Use durable, local wood from a certified forestry source (FSC seal). Terrace boards made of larch, Douglas fir or oak fit the bill.
- There should be narrow slits between the boards of the side wall to ventilate the inner walls well. The maximum width should be 120 cm, otherwise working on the bed will be difficult. The length depends on the available space. The height can vary; between 80 to 100 cm is a comfortable working height. The higher it gets, the more filling material you need.
- Assemble a purchased raised bed (e.g. from www.forestgarden.co.uk or www.crocus.com, or build your own
Step 4: Laying out the wire mesh
Lay out the mesh wire over the entire floor and fix it on the inside with a staple gun. This prevents mice from entering the raised bed from underneath.
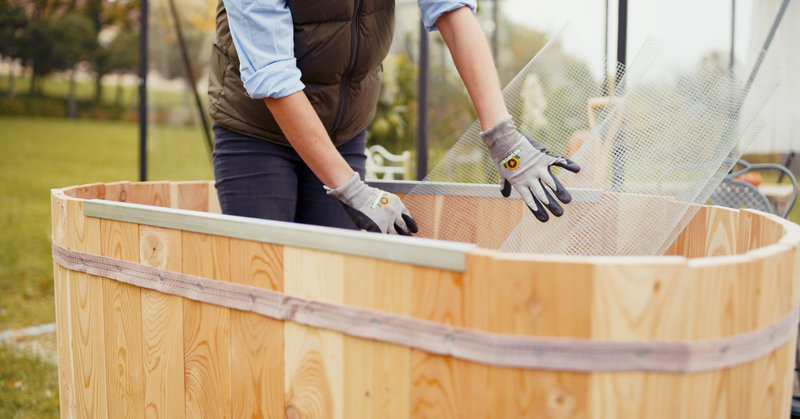
Step 5: Fixing the liner
Staple the liner onto the boards from the inside. This prevents the damp soil from coming into direct contact with the wood.
Step 6: Filling the raised bed

Each layer should be about 20 cm high. But this is not a must and anyway depends on what materials are available to you.
- Layer: Branches and twigs form the base of the filling and ensure good ventilation.
- Layer: Finer shredded material, such as thin twigs, shredded branches and shrub stems act as a separating layer from the soil. Alternatively you can also use purchased wood chips
- Layer: If you had peeled off the turf under the raised bed, you can fill it here, upside down (soil & lawn roots pointing upwards), in one layer.
- Layer (optional): Leaves & garden waste or well rotten manure: this provides nutrients and warmth.
- Layer: Coarse raw or mulch compost from composter also contains many important nutrients that ensure rapid plant growth. Or use a peat-free potting soil.
- Fill in a peat-free plant substrate. If this has not been pre-fertilized, fertilize it during the planting itself with Organic Multipurpose Plant Food.


Step 7: Warding off snails
If possible, stick a self-adhesive copper tape around the outside of the raised bed to ward off snails.
Step 8: Planting in a raised bed
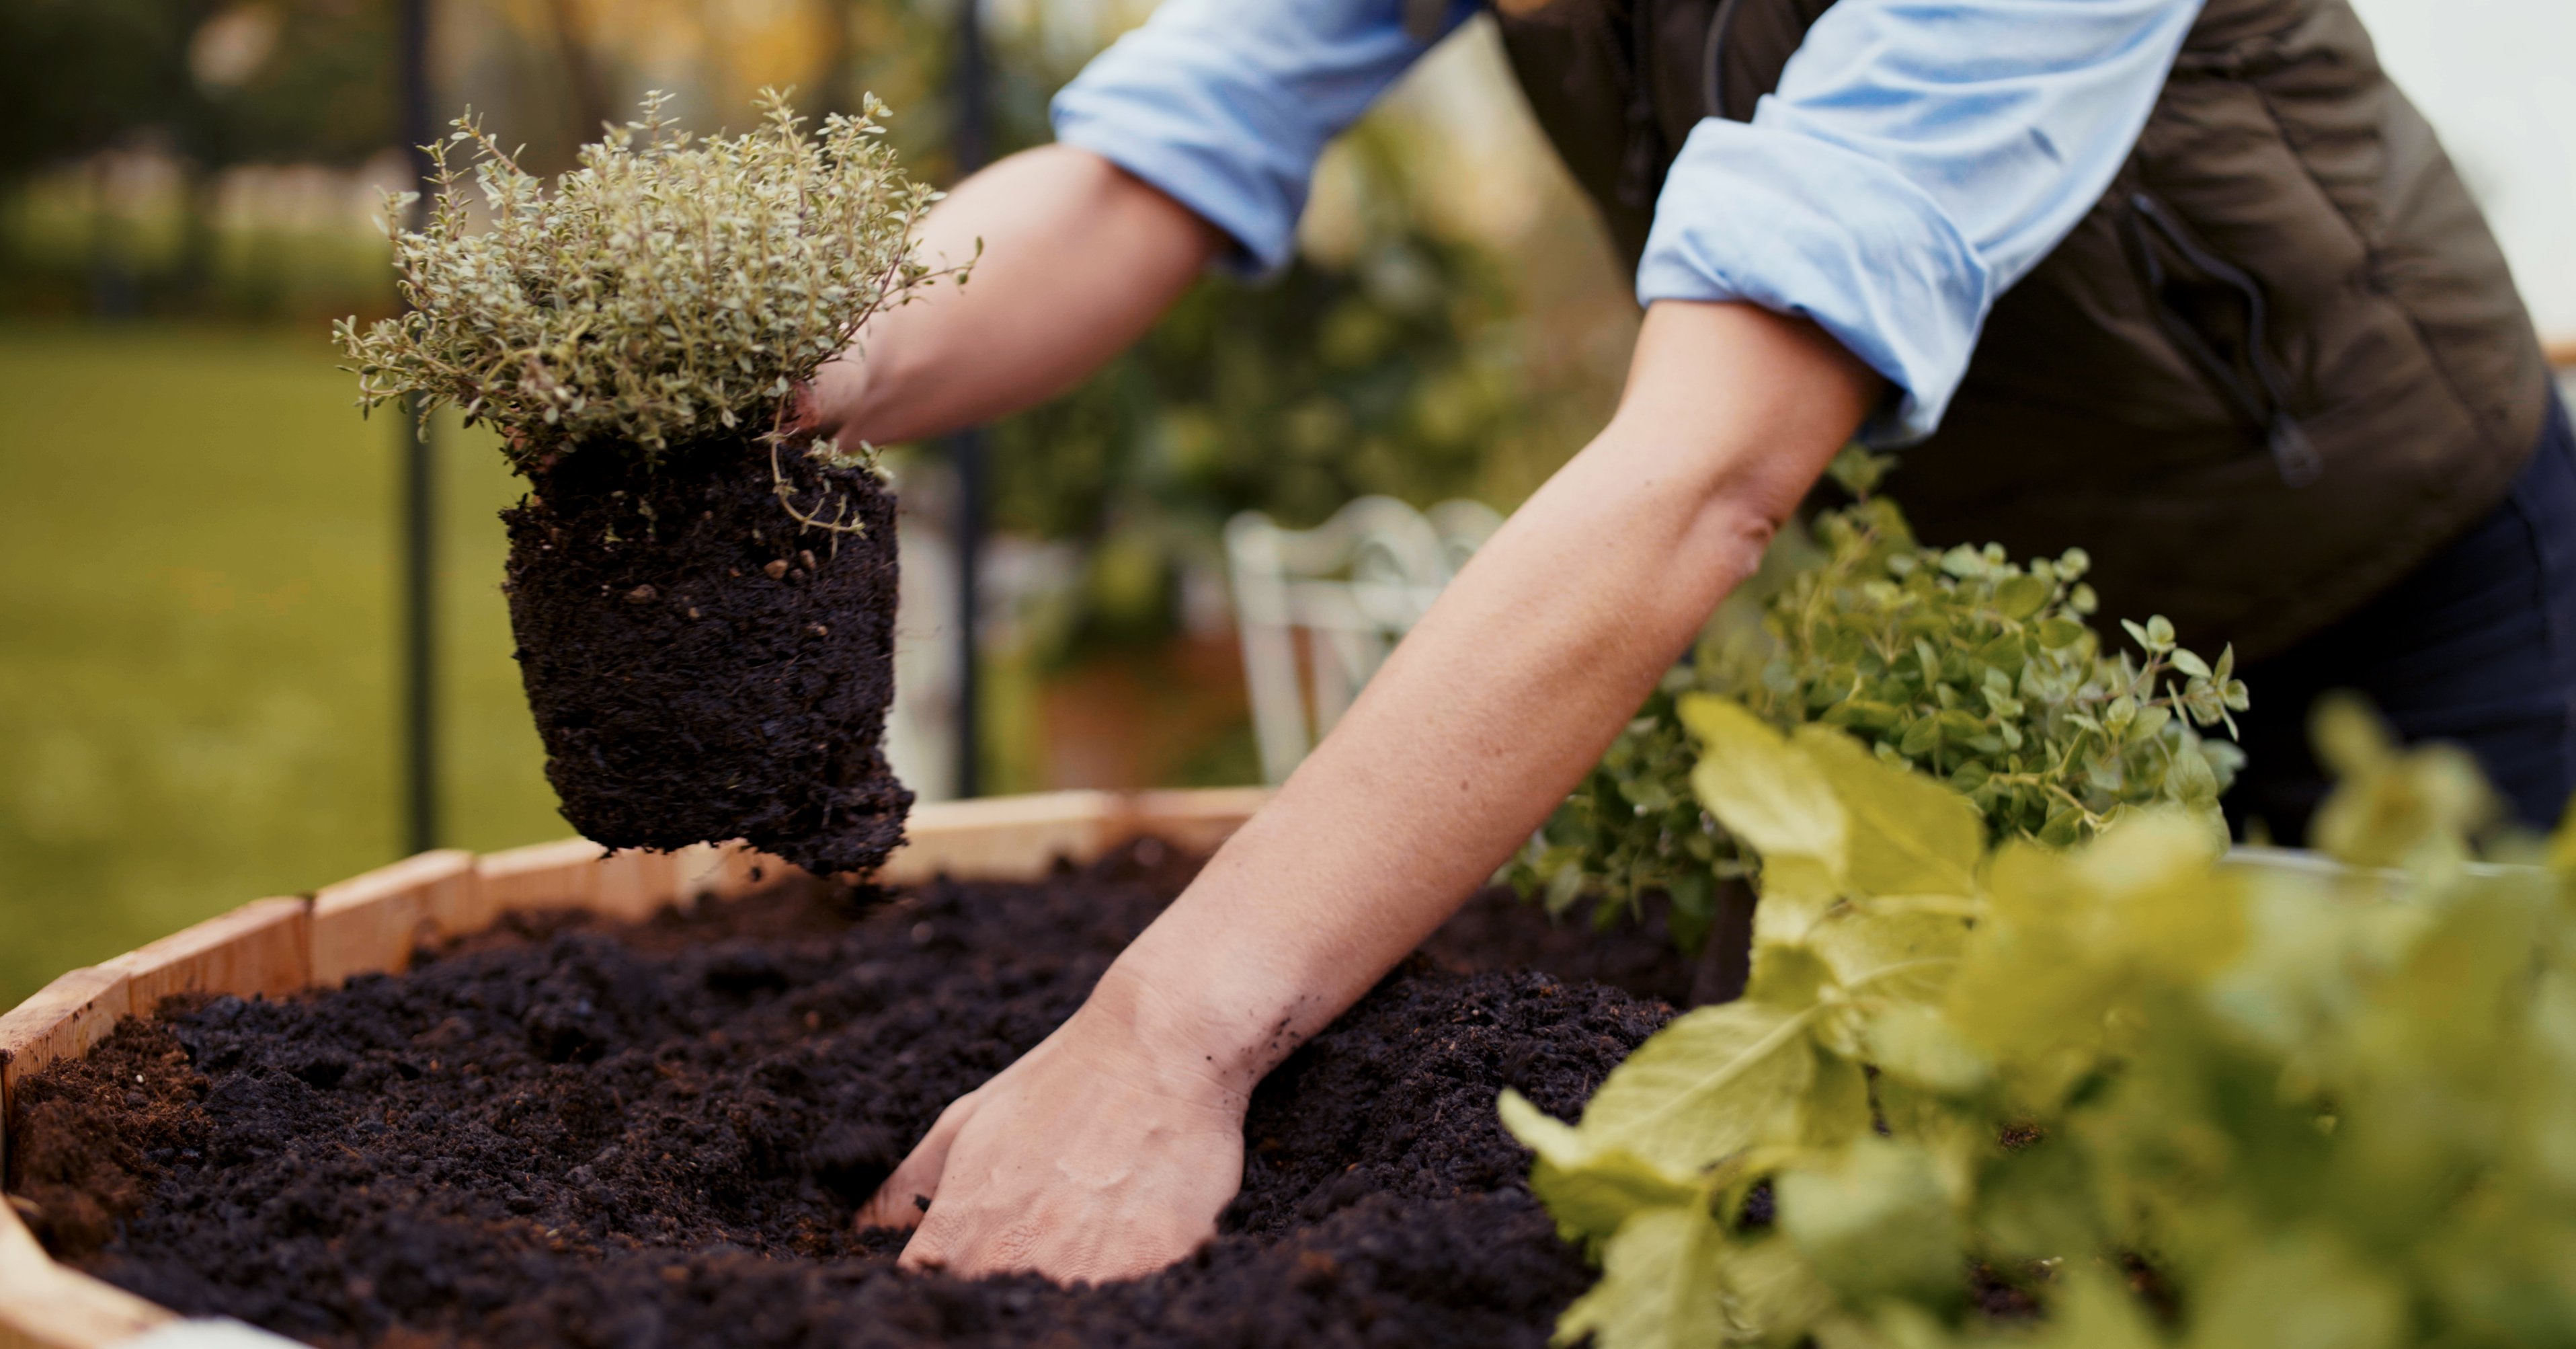
Sowing or planting! Higher plants in the middle, lower ones at the edges. Hanging nasturtiums or suitable strawberry varieties use the raised bed beyond the edge!
Watering seedlings with Super Strength Seaweed Extract facilitates root formation and growth.
Extra tips for the raised bed
- You have to fill some new soil every year because everything starts to settle.
- After 5-6 years, the raised bed usually has to be completely refilled because the materials have settled and rotted.
- For the balcony or the terrace, you get small raised beds (even with rollers), which you can push to a side if necessary.
- The right plants: all salads, vegetable plants and herbs. Exceptions: high growing varieties such as tomatoes or runner beans, or else you will need a ladder for harvesting! And leave out varieties such as zucchini or pumpkin that can grow quite big, otherwise there won't be enough room for anything else!


